
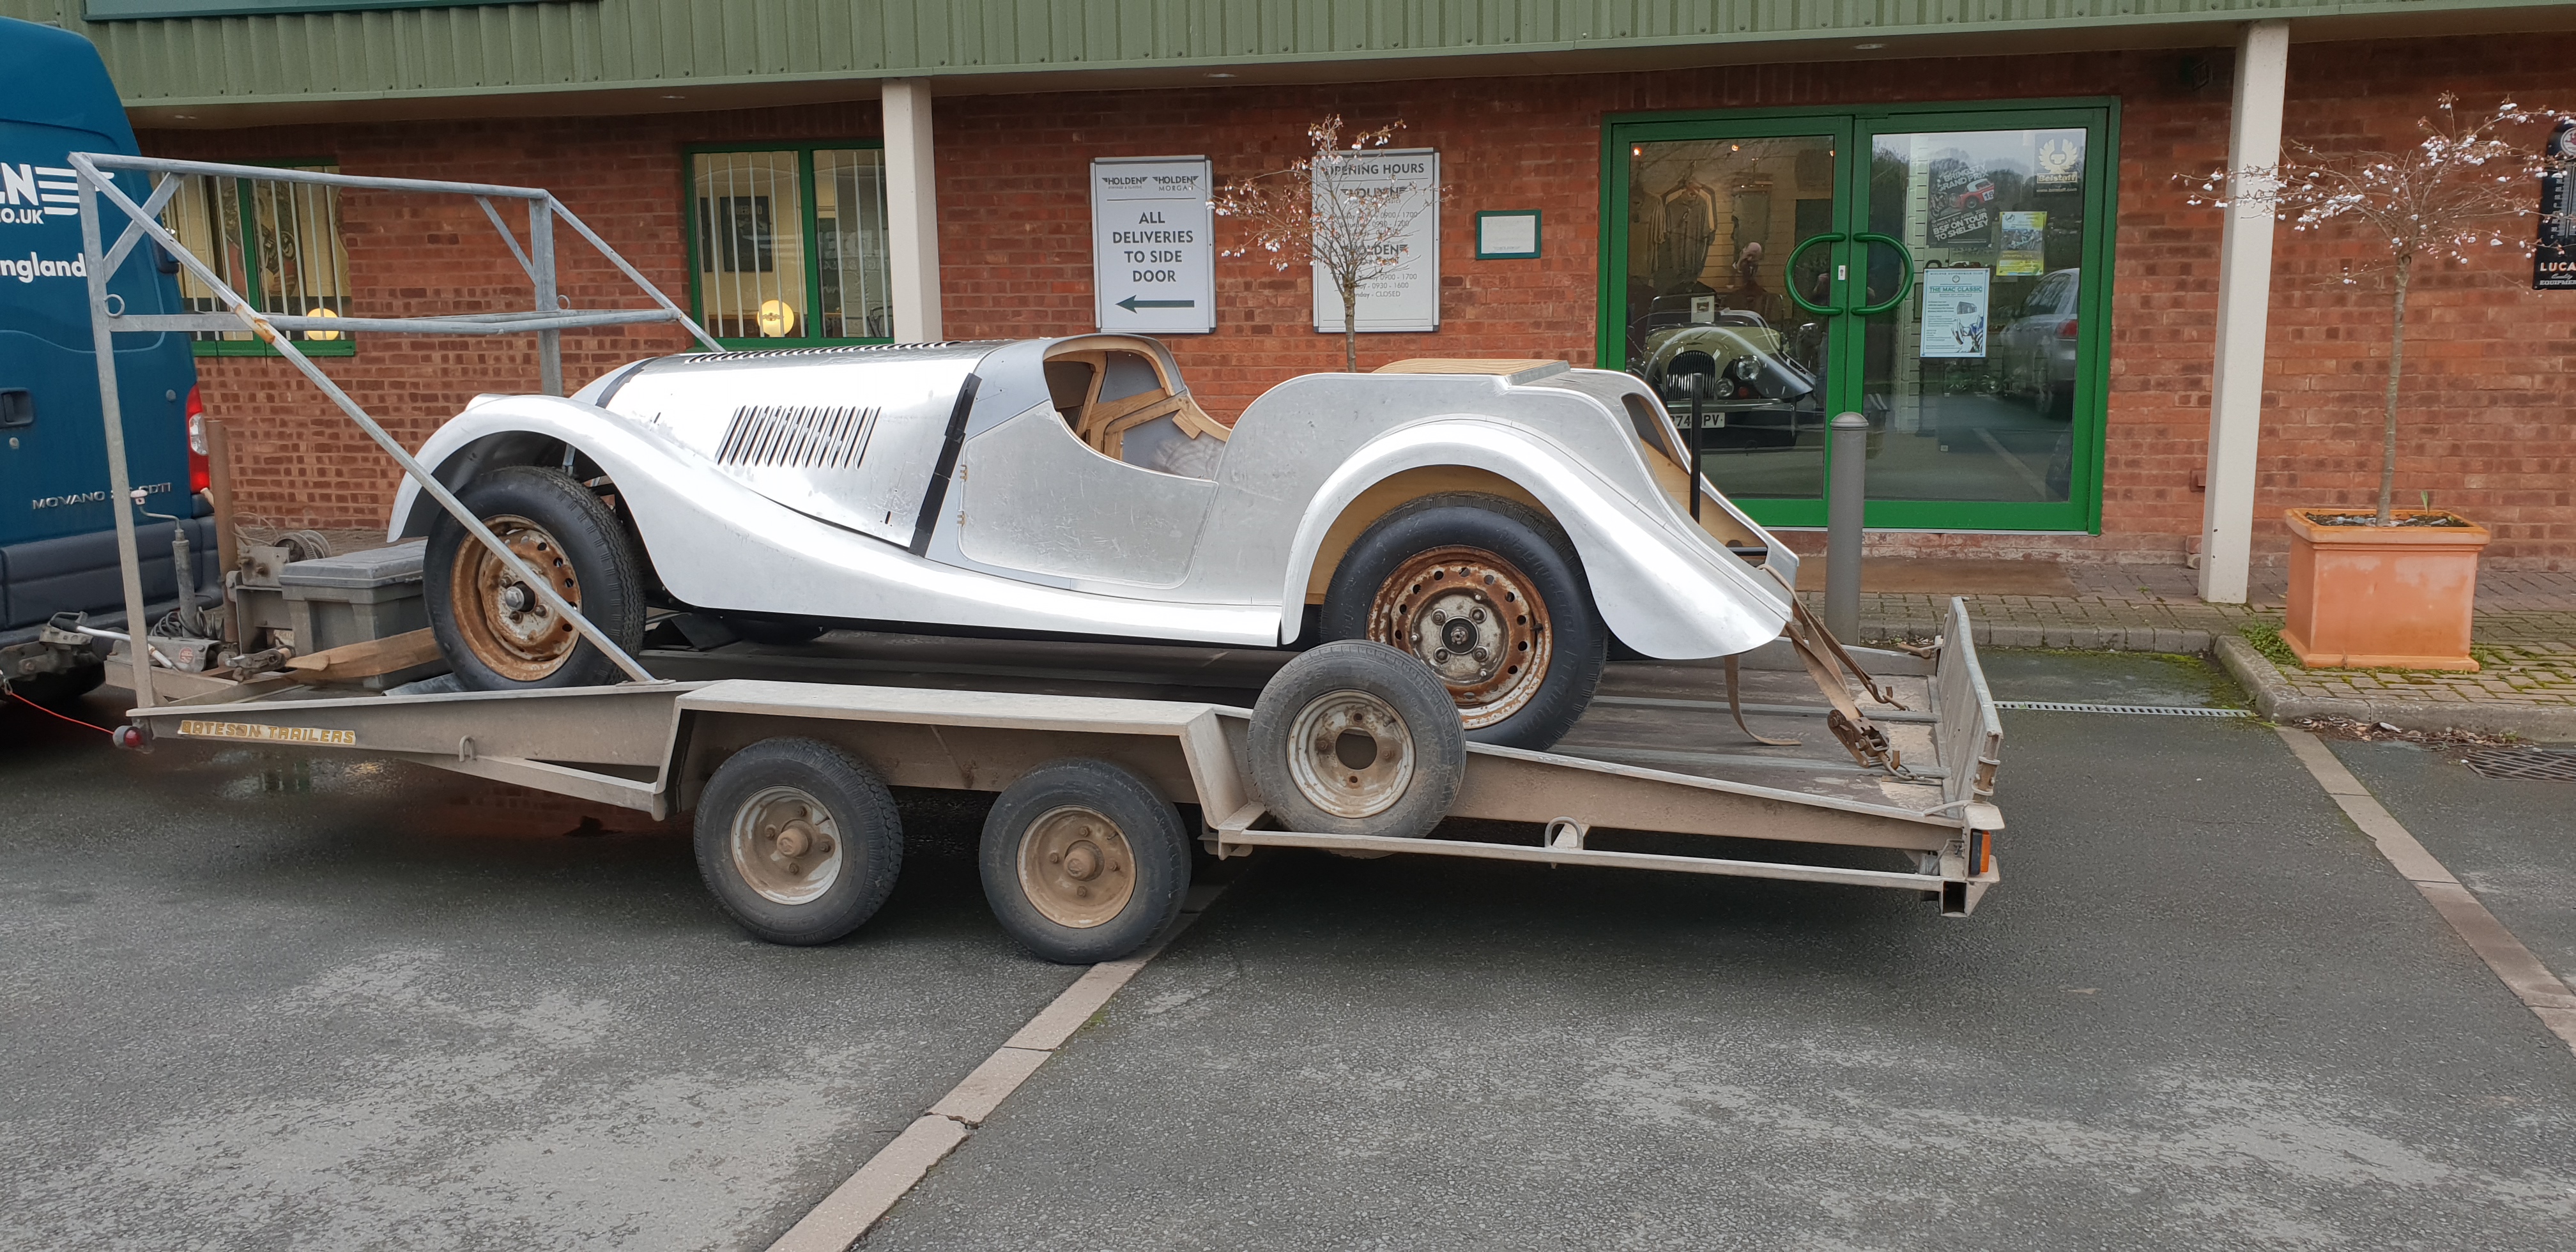
Since I last wrote about progress on Sol, a good deal has happened, as following on from the making of the brake lines the car was despatched to VSM for the wings to be fitted. We had sourced a set of new Superform wings from the factory. Not strictly correct, or quite the right style for Sol, but more readily available and also having a link to Holden, in that Holden Aluminium (now part of the Sapa Group) form the extruded outer edge wing beading for Superform. In fact, before Holden Aluminium relocating to Bromyard, the wing beading was formed in the very building in which Sol is being restored!
In an amazingly short period of four days, Steve had managed to trim and fit all four wings, Sol being retrieved on the fourth day to take up a position on the Morgan Sports Car Club stand at the Practical Classics Restoration Show. Sol gained much admiration and questions about the rebuild, the specification, the general construction of a Morgan, as well as the ever-present ‘I thought these cars had a wooden chassis’ question!
Following the Show were four days until Sol could return to VSM, so as the wings were fitted the opportunity was taken to fit the wing stays. Front wings are supported at the centre line of the front wheel, the other end being attached to the top of the crosshead. Previously, making these has been something akin to Blacksmithing, as the Factory supplied items were only ever somewhere near to fitting, in that there was a bolt hole at each end and a shape something like the wing profile. However, nowadays things are different! Someone at Morgan has discovered that by making the bracket a shape much more like the wing and putting slotted holes at each end, one part can fit a multitude of cars! This main front stay aside, all the rest had to be made from flat steel strip. There is still one more to do, but this can only be done once there is an exhaust system in place.
While ferreting through a box of parts for the car, we found the door locks which thankfully had been rescued off the old doors. With a little bit of a cleanup and some light oil they appeared to work well and showed few signs of much wear, so as the doors were currently being held shut with a small piece of wood and a screw, they were fitted. Not without having to make a packing piece from a piece of thin steel! A little careful adjustment and they latched shut, albeit being a bit on the tight side – but as the body settles and once it is firmly bolted to the chassis the locks will no doubt need some more fettling to get them spot on.
Having done these relatively minor tasks, I tackled the brake line across the back axle and the main line from the front of the car to the rear. This runs down the chassis rail on the passenger side of the car, opposite to the master cylinder which makes the pipe run somewhat longer, but it does keep it well away from the exhaust!
With these few little tasks completed, Easter was upon us, and the following Tuesday Sol was due back to VSM for the bonnet to be made. Dodging the ever-present rain showers, Sol made the journey from the Workshop to VSM without getting wet or dirty. Amazingly!
Just over a week later, a phone call to say that Sol was done and could be collected was a bit of a surprise, as the anticipation was that it would be at least another week. Steve had done the job quicker than he had suggested and it was ready.
The bonnets and cowl were now fitted, the cowl box had been made and bolted in – this insignificant sounding and fiddly to fit bit of sheet metal is the part that holds the front of the valances together and provides the mounting point for the Morgan grille. Steve had also fitted the windscreen for us and at the same time cut the slots for the windscreen wiper wheelbox spindles in the scuttle. Both of these jobs being far easier when a template and plenty of experience are readily available! Getting the angle of the windscreen wrong can affect the aesthetics of the car, not to mention cause a nuisance when it comes to fitting side screens.
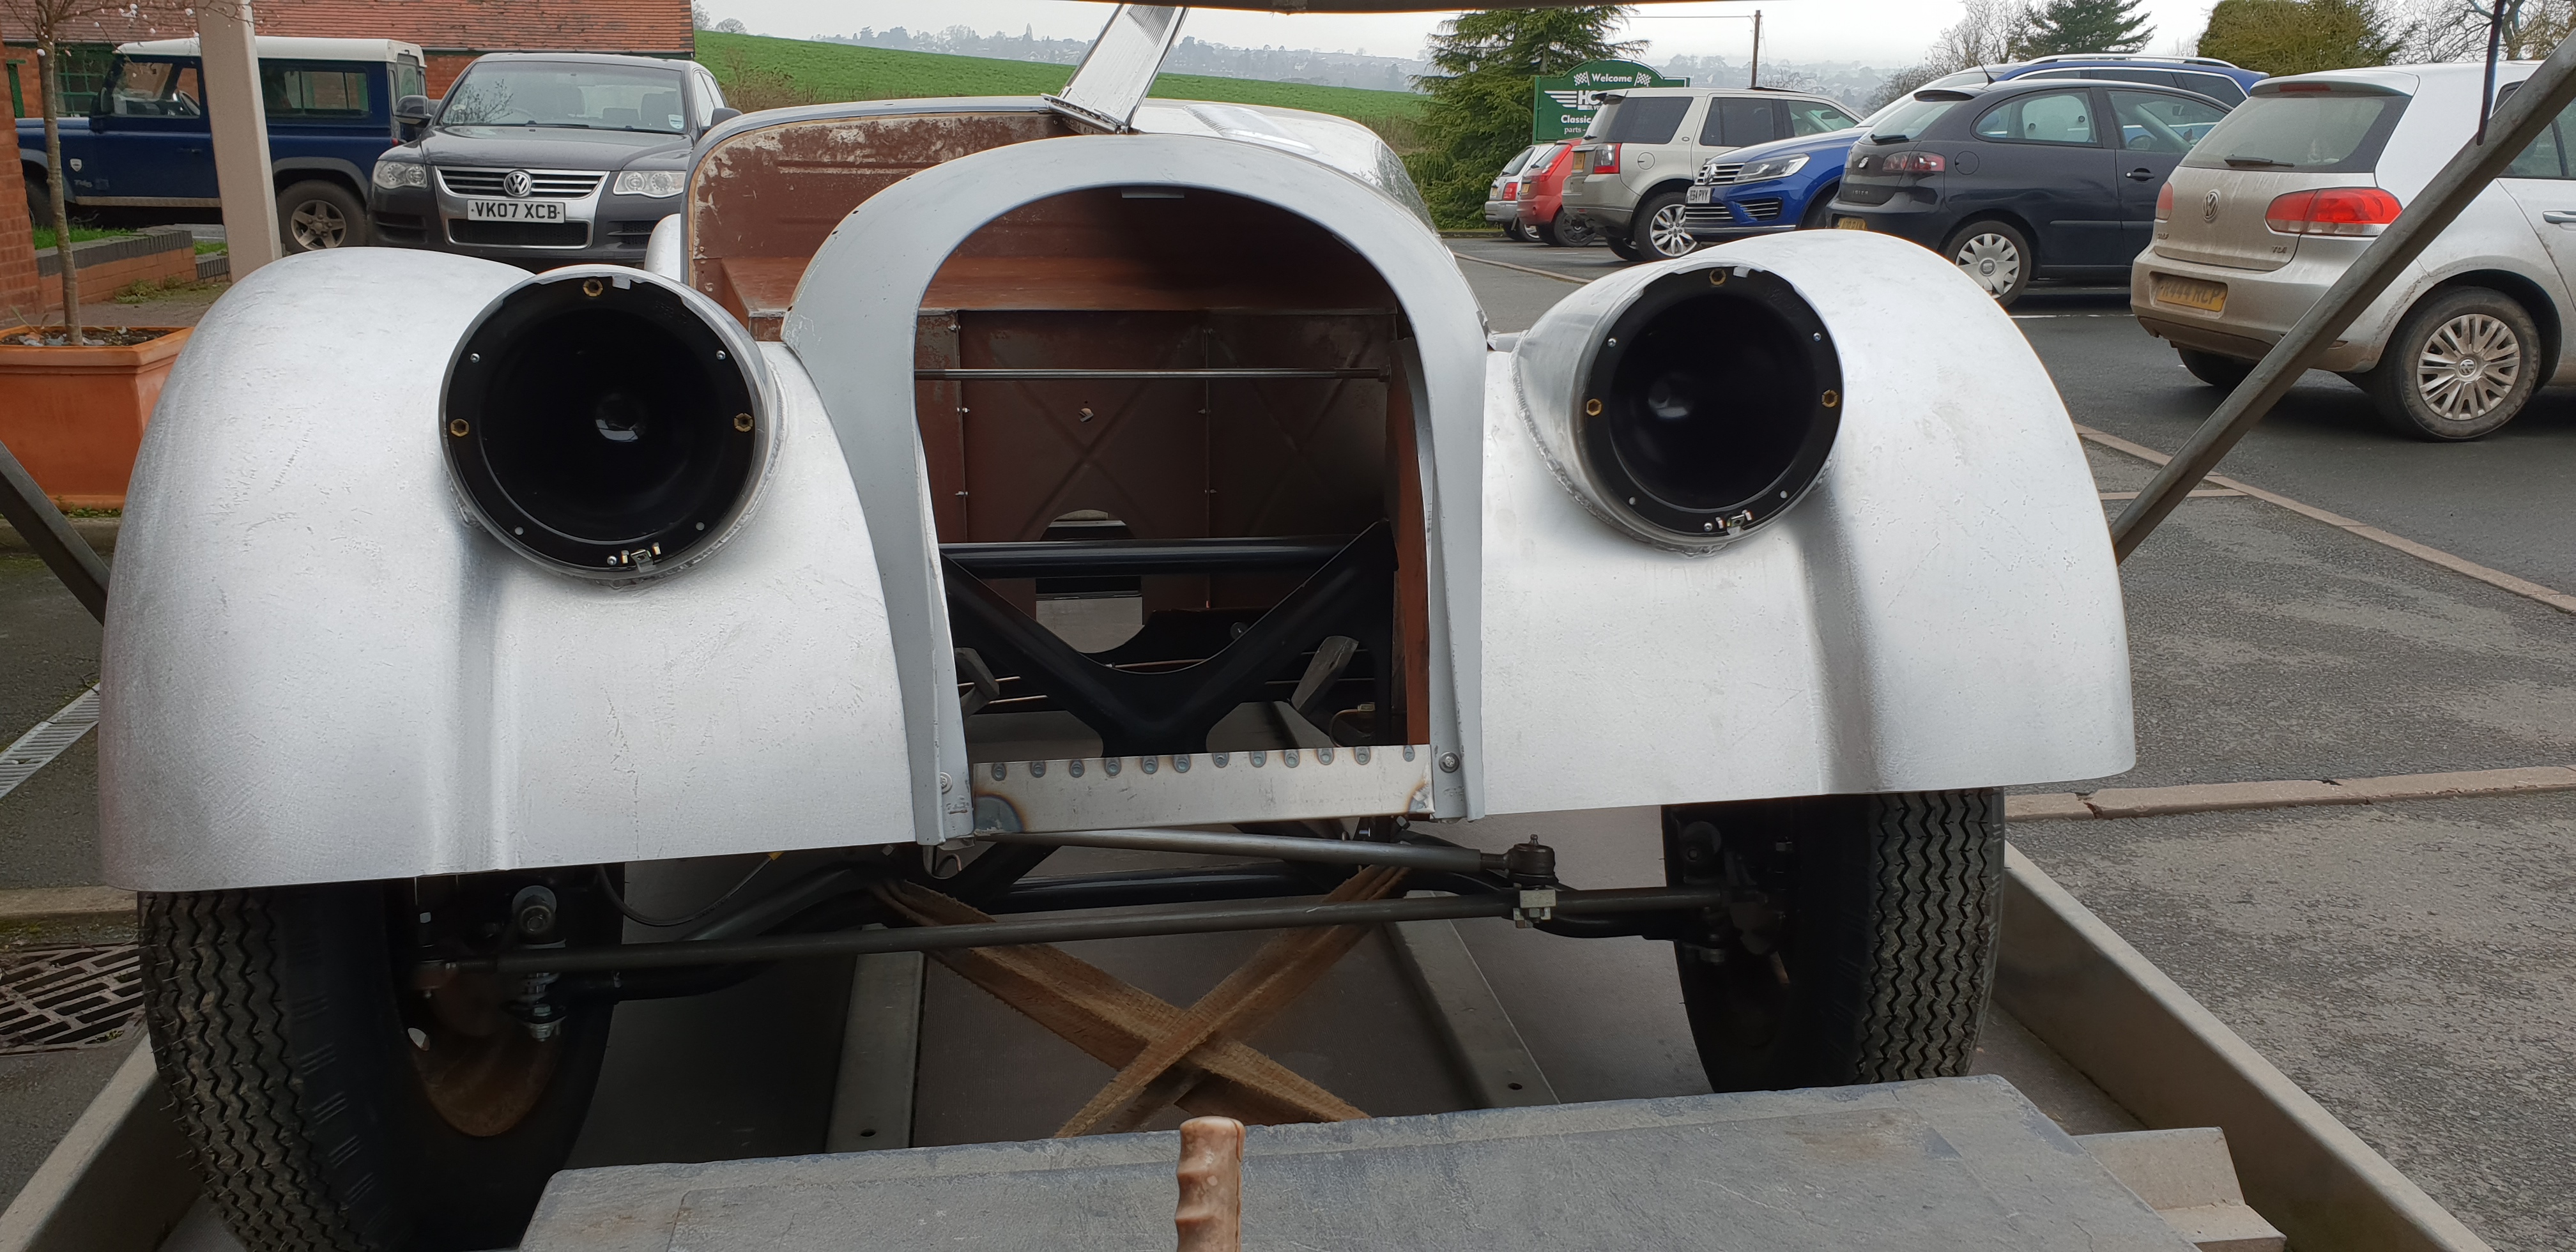
This the brings us to the point where some of the ‘furniture’ can be fitted. So far, a pair of headlights have been fitted, using period correct 3-adjuster steel headlamp bowls instead of the more modern plastic option, a set of front indicators added, which is something that we don’t think Sol would have had from new, but are being fitted from a safety point of view. With these installed, Sol has somehow taken a leap towards becoming a complete car!
Wiper wheelboxes have been put in place, together with a new piece of tube for the wiper rack. This comes as a lovely straight piece of tube and has to be carefully cut and shaped to fit, ensuring not to kink the tube or bend it too tightly, otherwise the rack simply won’t run smoothly and the motor will be straining to operate correctly. A modern 2 speed motor has been fitted in place of the original single speed one to hopefully provide better wipers, although we are hoping the trip through Africa will not see too much rain, you never know!
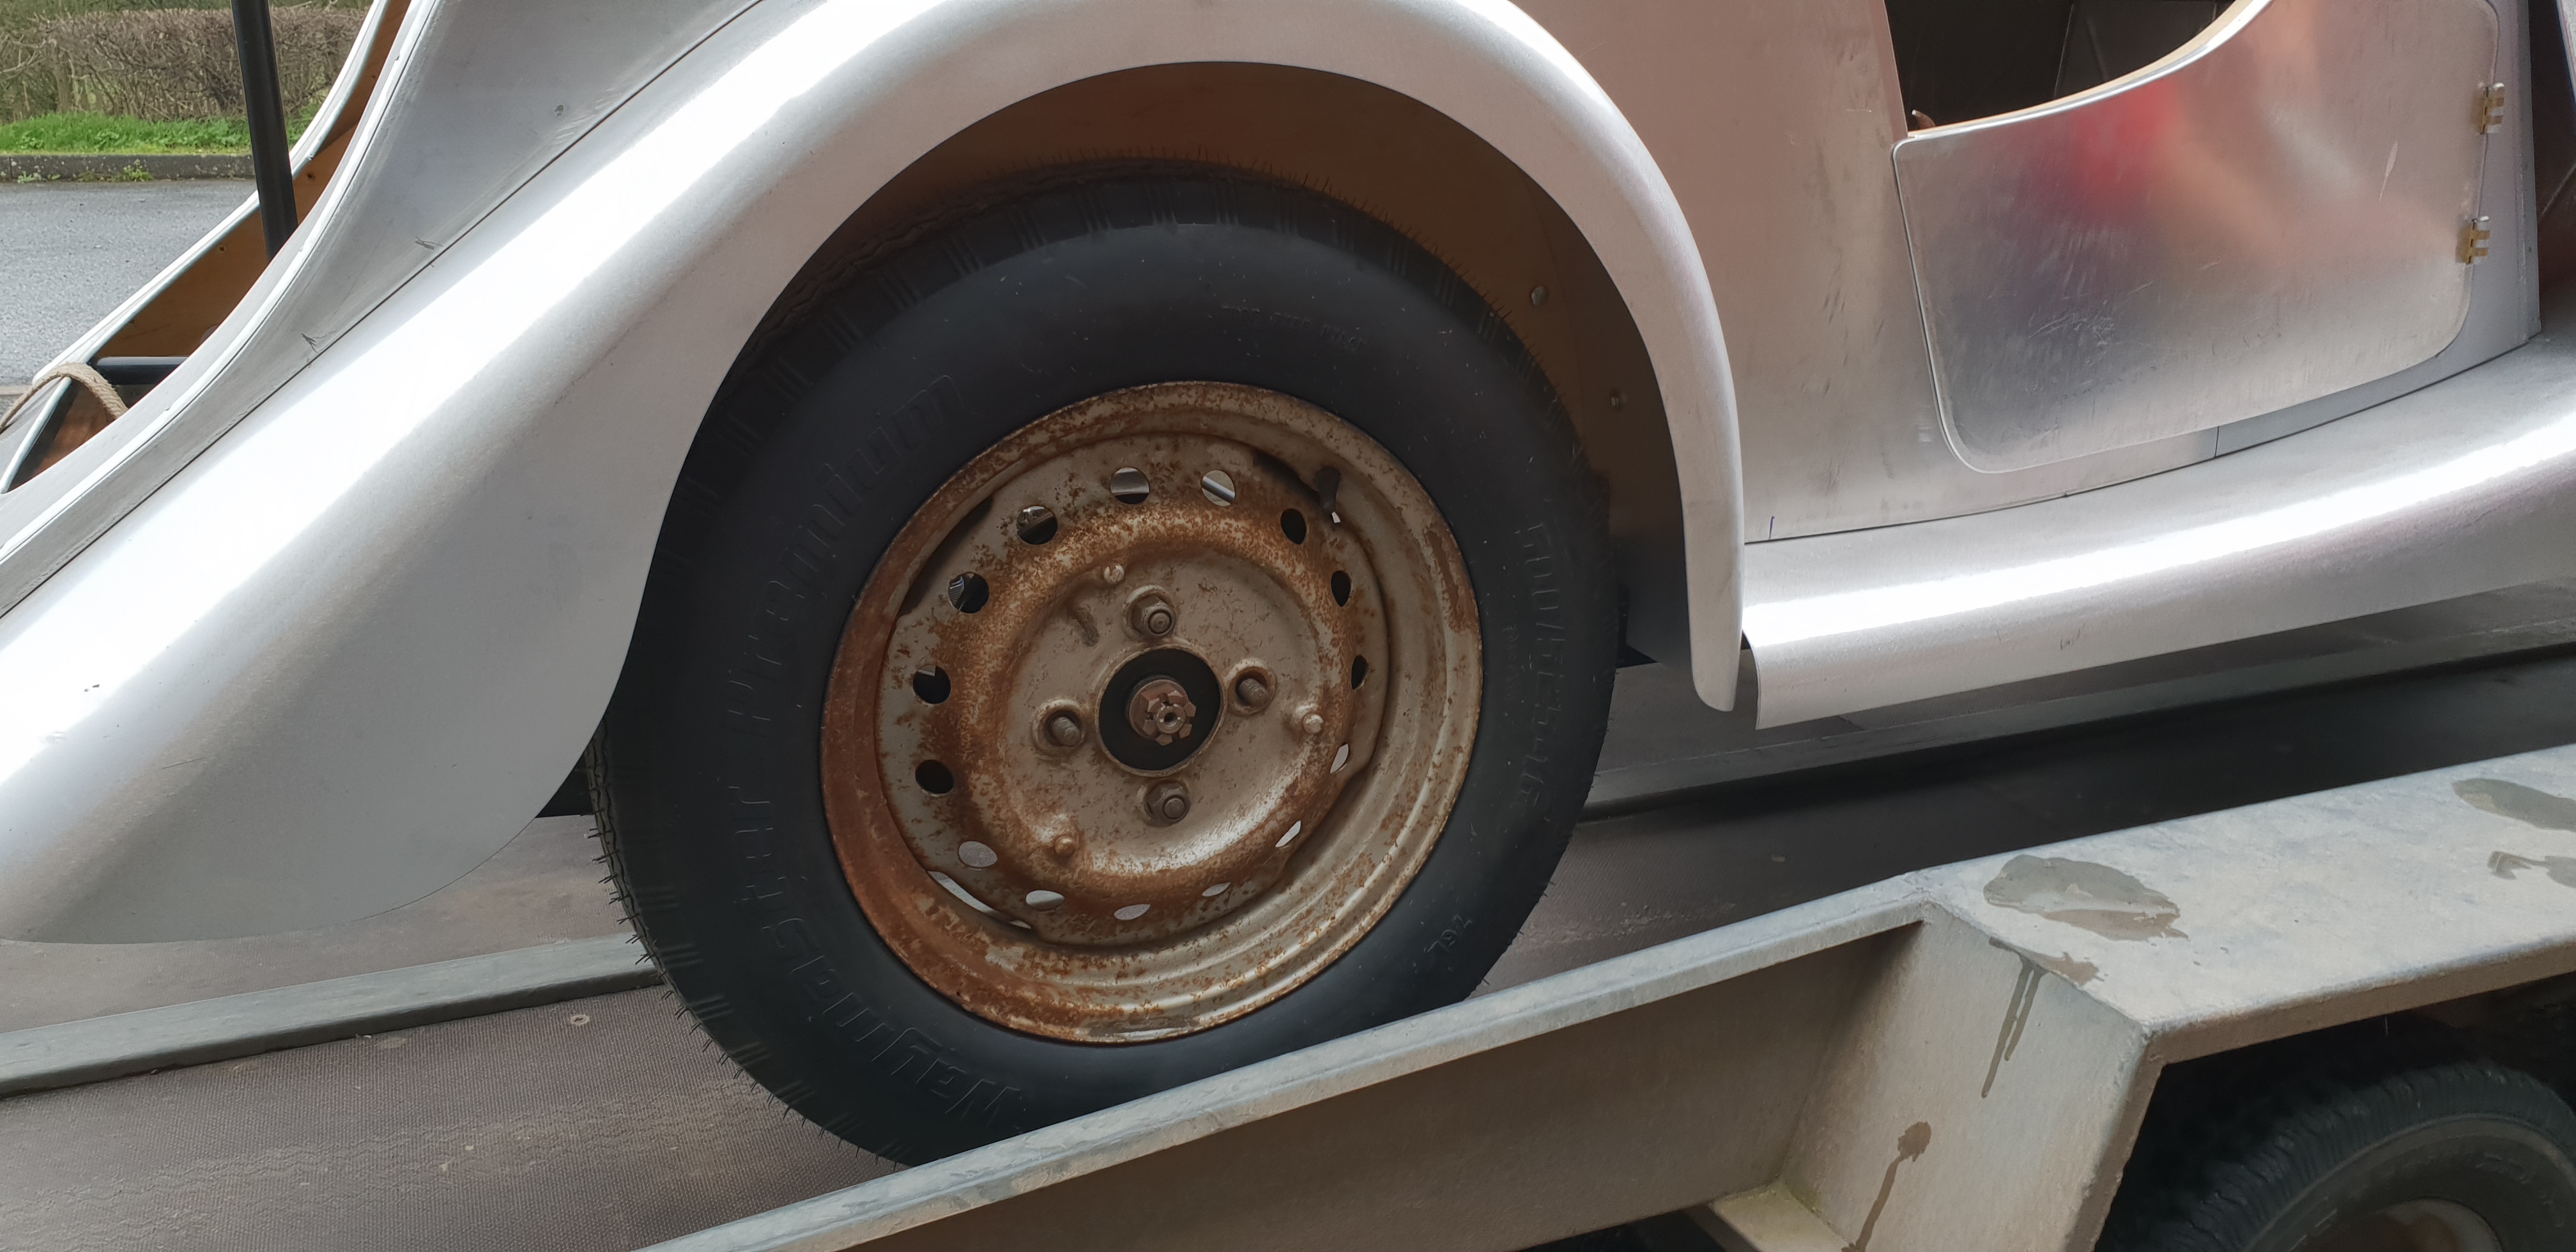
Another job was to fit the tread rubbers to the wings. These comprise a very soft aluminium extrusion that is bolted to the wing with plenty of small coach bolts, which are then hidden by the rubber strip. These have had to be ordered from the Factory, so a couple of old ones that had been replaced on a car in the Workshop were used as templates.
The final job that brings us currently up to date has been to fit the bellhousing to the gearbox and overhaul the clutch operating mechanism. Those readers familiar with a Moss box in a Morgan will understand this, others may not. Essentially, the Moss gearbox is mounted remotely from the engine at the end of an approximately 2 feet long Magnesium bellhousing. At the flywheel end there is a cast aluminium sleeve that contains a carbon clutch thrust pad, this slides within the magnesium casting to operate the clutch by pushing against a steel pad in the centre of the clutch cover. The sleeve is connected via a mechanical linkage to the pedal and has 5 separate pivot points, each one wears and contributes towards the linkage being sloppy, add this to a lack of grease having been applied to the grease point where the aluminium sleeve slides and the end result is a clutch that is terrible to operate at best.
The cure for the lack of grease – and hence the slide for the aluminium sleeve becoming oval – is to machine the magnesium casting back to round and press in a piece of seamless steel tube. This job was entrusted to GEE, who helpfully had one available as an exchange! The rest of the linkage was overhauled and new pivot pins and split pins fitted to make it all work correctly. Once the bellhousing was bolted to the gearbox with the connecting shaft fitted first (the muff coupling on the nose of the gearbox input shaft does not fit through the aluminium clutch sleeve) it was placed in the chassis. At this point, we could not resist fitting the propshaft – just to make sure it fitted!
The coming week or so will see the fitting of the beading to the outer edge of the wings, fitting rear lamps, the addition of the bonnet catches and sorting out the fuel tank. Once this is all done, we will be somewhere near to being ready for paint. The burning question now is what colour……..!


)
&description=&image=https://www.holden.co.uk/blog/wp-content/uploads/2018/04/Photo-09-02-2018-13-47-20.jpg)